There’s something comforting about a bowl of perfectly cooked rice. It’s a staple in countless meals, from family dinners to quick lunches. Yet, achieving that ideal texture can feel like a mystery. That’s where a rice cooker comes in—your secret weapon for consistent, hassle-free results.
Thank you for reading this post, don't forget to subscribe!With a “set it and forget it” approach, this kitchen appliance takes the guesswork out of the process. Whether you’re new to cooking or a seasoned pro, the steps are straightforward. From rinsing the grains to fluffing the final product, you’ll find it’s easier than you think.
This guide walks you through each step, ensuring you can replicate the process every time. Plus, it touches on choosing the right rice variety and adjusting for different textures. Once you master this method, you’ll have a reliable recipe for delicious rice at every meal.
Key Takeaways
- A rice cooker ensures consistent, perfectly cooked rice every time.
- The process is simple and requires minimal effort.
- Rinsing rice before cooking improves its texture.
- Adjust the water ratio for softer or firmer results.
- This method is versatile and works with various rice types.
Why a Rice Cooker is the Best Tool for Perfect Rice
Achieving perfectly cooked rice doesn’t have to be a guessing game. A rice cooker simplifies the process, delivering consistent results every time. Whether you’re preparing a quick side dish or a family meal, this appliance ensures fluffy, evenly cooked grains without the hassle.
The Convenience of a Hands-Off Approach
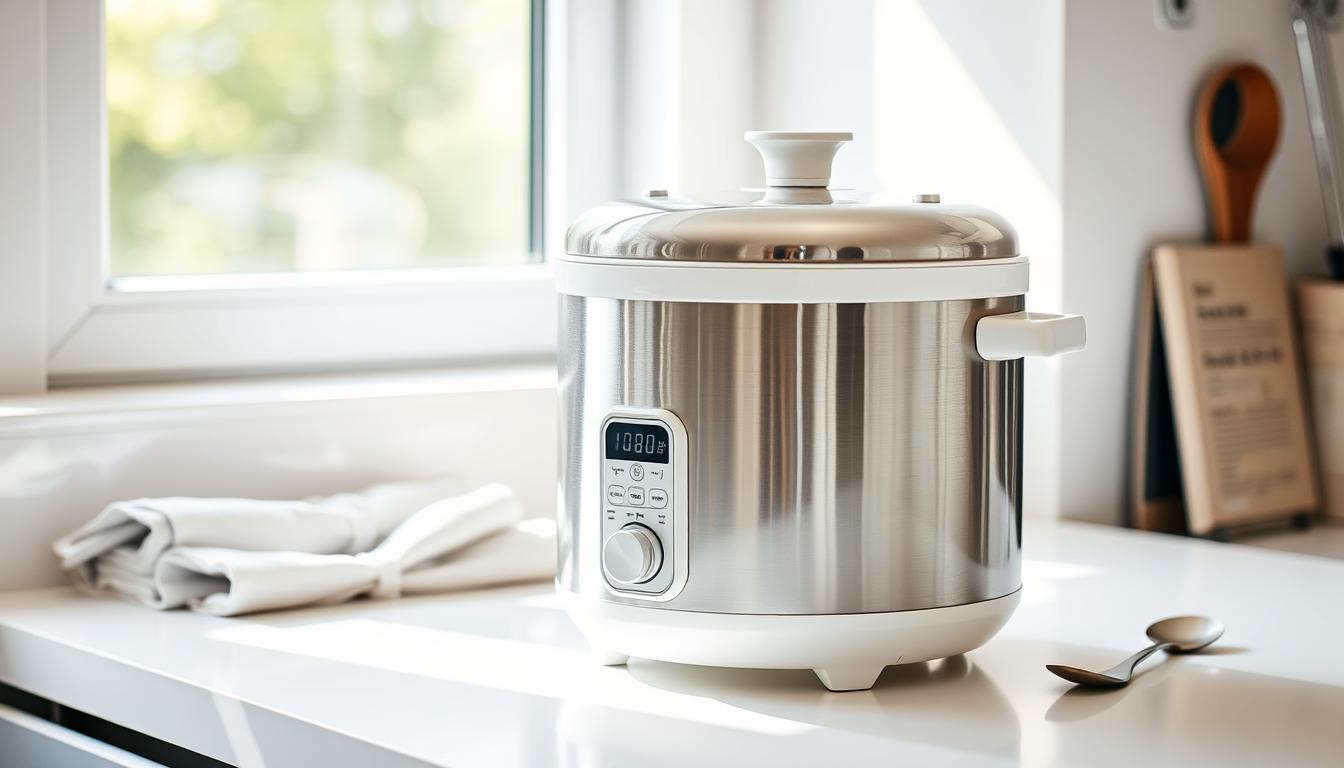
One of the biggest advantages of a rice cooker is its hands-off method. Once you add the rice and water, the appliance takes over. It automatically controls temperature and timing, so you never have to worry about overcooking or burning. This makes it ideal for busy households or anyone who values efficiency in the kitchen.
Unlike stovetop cooking, where you need to monitor the pot constantly, a rice cooker lets you focus on other tasks. The sealed lid traps steam, preserving moisture and flavor. This ensures that every grain is cooked to perfection, whether you’re making white, brown, or sushi rice.
Benefits Over Stovetop and Microwave Methods
Stovetop and microwave methods often require constant attention. With a rice cooker, you avoid the risk of uneven cooking or sticking to the bottom of the pot. The inner pot’s design and precise controls contribute to uniformly cooked grains, something traditional methods struggle to achieve.
Microwaves, while quick, can leave rice dry or undercooked. A rice cooker, on the other hand, uses advanced technology like induction heating to distribute heat evenly. This results in a consistent texture and flavor that’s hard to replicate with other methods.
From family traditions to modern kitchens, rice cookers have become a reliable tool for delivering high-quality results. Their ease of use and versatility make them a must-have for anyone who enjoys perfectly cooked rice every time.
How To Cook Rice in a Rice Cooker
Mastering the art of fluffy grains starts with the right tools and steps. Whether you’re a beginner or a seasoned cook, this guide ensures consistent results every time. Let’s dive into the essentials and the process to make it happen.
Essential Equipment and Ingredients
To get started, you’ll need a few key items. A rice cooker is the centerpiece, designed to simplify the process. You’ll also need a measuring cup, preferably the one that comes with your appliance for accuracy. A rice paddle is helpful for fluffing the grains after cooking.
For ingredients, start with your preferred variety. Jasmine rice is a great choice for its aromatic flavor. You’ll also need clean water to achieve the perfect texture. Having these basics ready sets you up for success.
Step-by-Step Process Overview
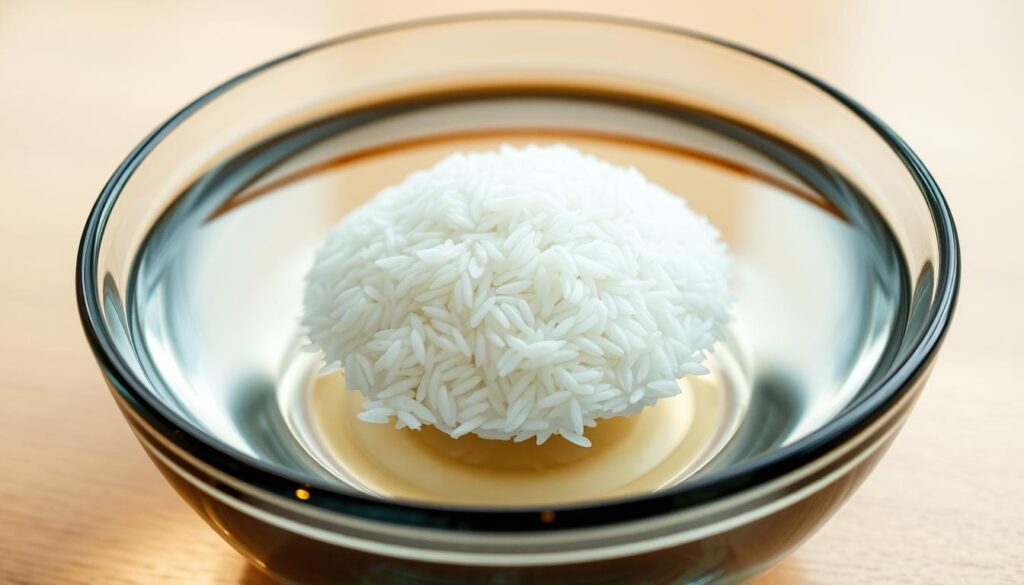
Begin by measuring your grains using the cup rice provided with your appliance. This ensures the correct ratio of grains to water. Next, rinse the grains thoroughly until the water runs clear. This step removes excess starch, improving the final texture.
Once rinsed, add the grains to the inner pot. Follow the instruction manual for your specific model to determine the right amount of water. Most appliances recommend a 1:1.5 ratio for white grains. After adding the water, close the lid and select the appropriate setting.
Resist the urge to lift the lid during cooking. The appliance’s sealed environment ensures even heat distribution. Once the cycle completes, let the grains rest for 5-10 minutes. This step allows the moisture to distribute evenly, resulting in perfectly fluffy grains.
By following these steps, you’ll achieve consistent results every time. Whether you’re using jasmine rice or another variety, this method guarantees a delicious outcome.
Choosing and Preparing Your Rice
The foundation of a great rice dish starts with choosing the right grains and preparing them correctly. The type and variety you select play a crucial role in the final texture and flavor. Whether you prefer long-grain, medium-grain, or short-grain, each brings its unique qualities to the table.

Selecting the Right Rice Variety
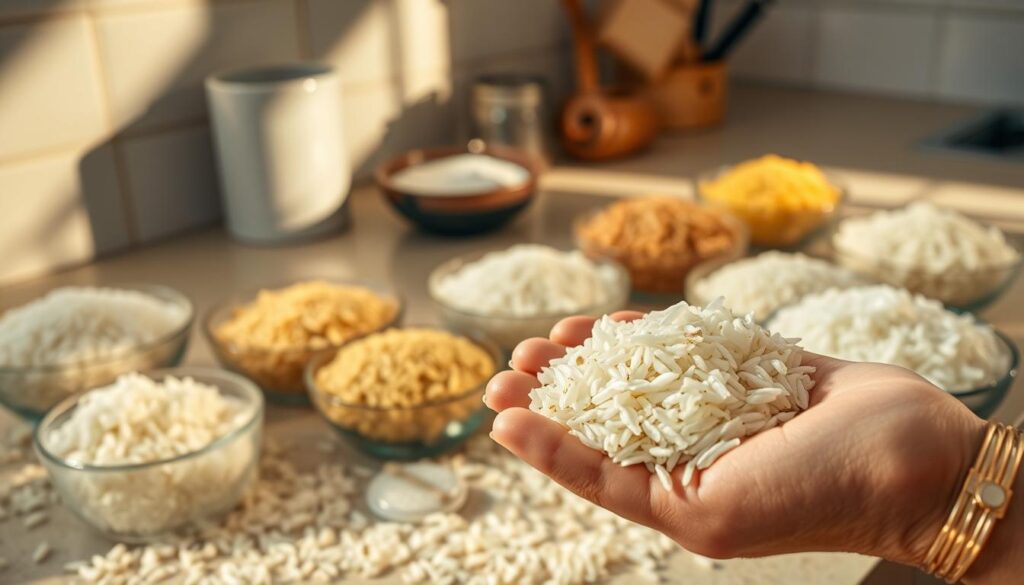
Long-grain varieties like jasmine rice are ideal for fluffy, separate grains, perfect for savory dishes. Medium-grain options, such as white rice, offer a slightly stickier consistency, making them versatile for both main courses and desserts. Short-grain types are often used in sushi or sticky rice dishes due to their high starch content.
When choosing a variety, consider the meal you’re preparing. For example, jasmine rice adds a fragrant aroma to Asian-inspired dishes, while white rice pairs well with hearty stews and curries. The right choice enhances both the taste and presentation of your dish.
Proper Rinsing Techniques to Balance Starch
Rinsing your grains is essential to remove excess starch, which can lead to a gummy texture. Place the desired amount in a fine-mesh strainer and rinse under cold water until the rice water runs clear. This process typically takes 5-6 rinses, depending on the variety.
While rinsing, avoid overdoing it. A small amount of starch is necessary to achieve a slight stickiness, which improves the overall texture. Using a cup water measurement ensures consistency across batches, making it easier to replicate your results.
By paying attention to these details, you’ll enhance both the flavor and appearance of your rice. Whether you’re aiming for fluffy or sticky, the right preparation techniques make all the difference.
Mastering the Water-to-Rice Ratio
Getting the water-to-rice ratio right is the secret to perfect grains every time. Too much water, and your dish turns mushy. Too little, and it’s undercooked. The key is precision, whether you’re using a cup or the knuckle method.

Measuring Cup vs. Knuckle Method
The measuring cup method is the most accurate. For most white grains, a 1:1.5 ratio works well. That’s one cup of grains to one and a half cups of water. This ensures consistent results every time.
The knuckle method, while traditional, is less precise. It involves adding water until it reaches the first knuckle of your finger. This can vary based on hand size and grain type, making it less reliable.
Adjusting Ratios for Different Rice Types
Different grains require different ratios. For example, brown rice needs more water—typically a 1:2 ratio. This means one cup of grains to two cups of water. It also takes longer to cook, usually around 40 minutes.
Here’s a quick guide to help you adjust:
| Rice Type | Water Ratio | Cooking Time |
|---|---|---|
| White Rice | 1:1.5 | 15-20 minutes |
| Brown Rice | 1:2 | 30-50 minutes |
| Sushi Rice | 1:1.25 | 20-25 minutes |
For alternative appliances like the instant pot, follow the manufacturer’s guidelines. These devices often require less water due to their sealed environment.
By mastering these techniques, you’ll achieve grains that are neither mushy nor undercooked. Consistency is key, and with practice, you’ll get it right every time.
Additional Tips and Enhancements for Fluffy Rice
Enhancing the flavor and texture of your grains can elevate any meal. With a few simple techniques, you can personalize your dish to suit your tastes. These tips ensure every serving is light, fluffy, and full of flavor.
Incorporating Salt, Oil, and Other Flavorings
A light sprinkle of salt or a drizzle of oil can make a big difference. These additions enhance the taste without overpowering the dish. For aromatic grains like jasmine, even plain cooking can yield a delightful aroma.
When preparing much rice, consider adding a tablespoon of oil to prevent sticking. This also helps separate each rice grain, ensuring a light texture. Experiment with these small adjustments to find the perfect balance for your palate.
Using the Keep Warm Function and Resting Time
After cooking, let your grains rest for 5-10 minutes. This allows the moisture to distribute evenly, resulting in a fluffier texture. The keep warm function is ideal for maintaining the perfect serving temperature.
Make sure not to disturb the grains during this time. Use your hand or a rice paddle to gently fluff them, ensuring each rice grain remains intact. Serving in a heat-retaining dish enhances the overall dining experience for every person at the table.
By following these tips, you can consistently achieve rice every time that’s tailored to your preferences. Whether you’re cooking for one or a crowd, these enhancements ensure a delicious outcome.
Conclusion
Perfectly cooked grains are just a few steps away with the right approach. Using a rice cooker ensures consistency, making it a reliable tool for busy households. Its hands-off method simplifies the process, delivering fluffy results without constant monitoring.
By following the shared tips, you can achieve rice every time that’s tailored to your preferences. Understanding the basics, like rinsing and water ratios, guarantees delicious outcomes. These small adjustments make a big difference in texture and flavor.
Incorporate these techniques into your routine for rice rice that’s always satisfying. Whether it’s a quick side or a family meal, the simplicity of this method shines. Try it today and enjoy the ease of perfectly cooked grains at every meal.


