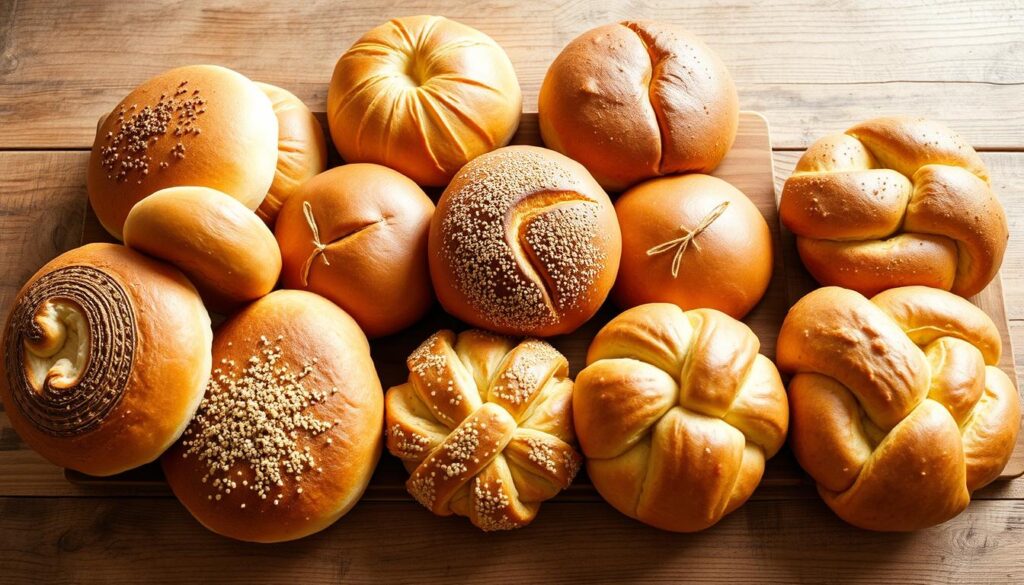
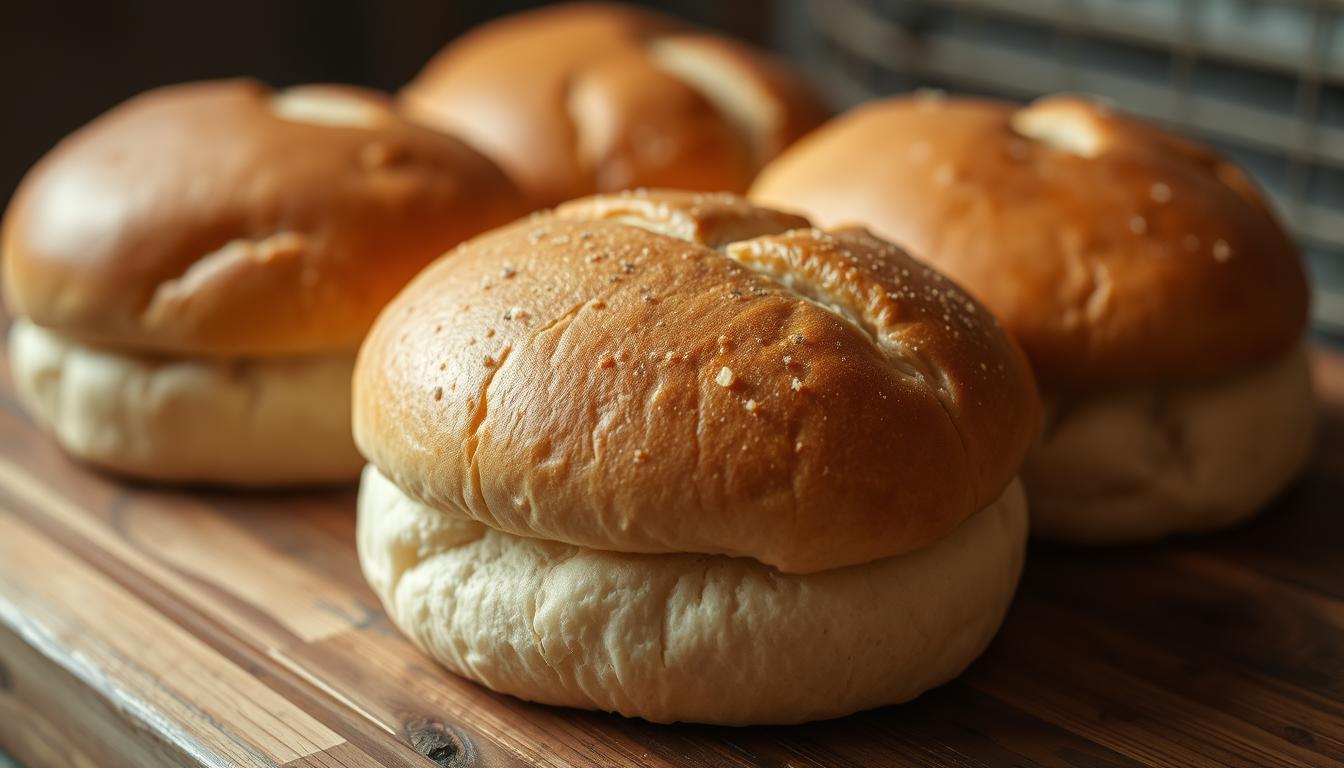
Imagine sinking your teeth into a soft, fluffy hamburger bun, fresh from your oven. The golden-brown texture and the subtle tang of sourdough create an irresistible treat that elevates any meal. Making these buns at home is a game-changer, offering a freshness and quality that store-bought options simply can’t match.
Thank you for reading this post, don't forget to subscribe!Using a combination of sourdough starter and discard, this recipe strikes the perfect balance between flavor and structure. The dough comes together quickly, with minimal prep time, making it accessible even for those new to sourdough baking. Quality ingredients like fresh dough and just the right fermentation time ensure your buns turn out light and delicious every time.
Key Takeaways
- Enjoy soft, fluffy buns with a hint of sourdough tang.
- Quick preparation with minimal mixing time.
- Uses sourdough starter and discard for balanced flavor.
- Quality ingredients ensure the perfect texture.
- Fresh buns stay soft for up to 3 days.
Introduction to Your Delicious Hamburger Buns
Welcome to the world of homemade hamburger buns that are perfect for summertime gatherings and backyard BBQs. These soft, fluffy treats are designed to elevate your grilling game, offering a freshness that store-bought options can’t match.
The recipe is crafted for busy cooks, blending eggs, butter, and a touch of sourdough starter for a quick yet flavorful outcome. From mixing to baking, the entire process takes about one to two hours, making it ideal for those with limited time.
The result is a soft crumb with a glossy top, achieved through a perfect egg wash finish. This technique not only enhances appearance but also adds a subtle richness to each bite.
| Ingredient | Quantity | Purpose |
|---|---|---|
| Eggs | 1 large | Enriches flavor and moisture |
| Butter | 55 grams | Enhances tenderness and flavor |
| Sourdough Starter | 200 grams | Provides tangy flavor |
Personalization is easy with this recipe. Whether you prefer a shiny egg wash or sesame seeds on top, the process remains straightforward and reliable. Each bun is a masterpiece of texture and taste, ready to complement your favorite grilled creations.
Essential Ingredients and Tools
To create the perfect burger buns, you’ll need the right tools and ingredients. Let’s break them down.
Must-Have Kitchen Equipment
- Large mixing bowl
- Stand mixer (optional)
- Wooden spoon
- Bench scraper
- Parchment paper
Key Ingredients Overview
Quality ingredients are key to achieving soft, fluffy buns.
| Ingredient | Quantity | Purpose |
|---|---|---|
| High-protein flour | 3 cups | Provides structure and rise |
| Unsalted butter | 4 tablespoons | Enhances tenderness |
| Sourdough discard | 200 grams | Adds tangy flavor |
| Warm milk | ¾ cup | Activates yeast |
Each ingredient plays a vital role in texture and flavor, ensuring your buns are soft and delicious.
Understanding Your Sourdough Starter and Discard
Your sourdough starter and discard are essential ingredients in creating soft, fluffy hamburger buns. Each plays a unique role in the dough’s flavor and texture. The starter adds a tangy flavor, while the discard contributes to a milder sour note. Together, they create a balanced taste that enhances your buns.
Benefits of Using Sourdough Discard
- Reduces food waste by repurposing leftover starter.
- Adds a mild sour flavor without overpowering the buns.
- Enhances dough rise with its natural yeast activity.
Using discard is both practical and beneficial. It not only minimizes waste but also introduces a subtle tang, making your buns more flavorful and aromatic.
Differences Between Active Starter and Discard
- Active starter is more potent, providing a deeper sour flavor and stronger rise.
- Discard is milder, offering a subtle tang and a softer texture.
While active starter is ideal for a more pronounced sourdough taste, discard creates a lighter, fluffier texture. Both are crucial for achieving the perfect balance in your buns.
Managing your starter is key to consistent results. Keep it in a clean bowl and feed it regularly to maintain its health. Experimenting with both active starter and discard allows you to find the perfect flavor for your buns. Whether you prefer a stronger sour taste or a milder one, understanding your ingredients ensures delicious results every time.
Mixing, Kneading, and Rising: Crafting the Perfect Dough
Crafting the perfect dough is where your buns begin to take shape. Whether you prefer the hands-on approach of kneading by hand or the efficiency of a stand mixer, the goal is the same: a smooth, elastic dough that rises beautifully.
Hand Kneading Versus Stand Mixer Techniques
Hand kneading offers a tactile experience, allowing you to feel the dough transform. It typically takes about 4-5 minutes, just until the dough becomes smooth. A stand mixer with a dough hook can save time, doing the work in around 4-5 minutes as well. Both methods aim for a similar result: a dough that’s elastic and slightly firm.
| Method | Time | Advantages |
|---|---|---|
| Hand Kneading | 4-5 minutes | Direct feel, better dough understanding |
| Stand Mixer | 4-5 minutes | Efficiency, less physical effort |
Tips for Achieving a Smooth, Elastic Dough
Temperature plays a crucial role; aim for a warm environment to help the dough rise. Sugar in the dough feeds the yeast, enhancing flavor and rise. After kneading, let the dough rest in a warm place for about 1-2 hours, or until nearly doubled in size.
Check the dough periodically. It should feel smooth and elastic, not sticky. If needed, adjust with a little flour or water. Properly developed dough ensures your buns will be light and fluffy, with a hint of sweetness from the sugar.
Your Sourdough Hamburger Bun Recipe: Step-by-Step Process
Now that we’ve covered the ingredients and tools, let’s dive into the hands-on process of creating your delicious buns. This step-by-step guide will help you craft the perfect treat for your next sandwich or BBQ.
Shaping and Forming Your Buns
Start by dividing the risen dough into 8-10 equal pieces. Gently roll each piece into a ball and then flatten it slightly into a disk shape. Place each shaped bun onto parchment-lined baking sheets, leaving about 1 inch of space between them for even proofing. Lightly dust your work surface with flour to prevent sticking, but avoid over-flouring to maintain the dough’s tenderness.
Using parchment paper is essential for this step, as it prevents the buns from sticking and makes cleanup easier. Proper handling ensures your buns retain their shape and bake evenly, resulting in a professional finish.
Creating a Glossy Egg Wash and Topping Ideas
For a glossy finish, whisk one egg with a tablespoon of water to create an egg wash. Gently brush this mixture over the buns before baking. This step not only adds a golden crust but also enhances the overall appearance of your sandwich buns.
Consider adding toppings like sesame seeds or poppy seeds for extra flavor and texture. Consider experimenting with other toppings to match your favorite sandwich creations. The key is to keep the toppings light to avoid overwhelming the delicate flavor of the buns.
Remember, careful shaping and a smooth egg wash are crucial for achieving that perfect, appetizing crust. Your attention to detail will make your homemade buns stand out, ensuring they’re the star of your next meal.
Quick Variations for the Busy Cook
For those short on time, adapting your hamburger bun recipe can yield fast, delicious results without sacrificing quality. Whether you’re adjusting the fermentation time or modifying the size of your buns, these tweaks ensure you can enjoy fresh, flavorful treats even on a tight schedule.
Modifying the Recipe for Faster Results
- Reduce Bulk Fermentation Time: Add a small amount of instant yeast to speed up the rise, cutting fermentation time by nearly half.
- Adjust Bun Size: Create larger buns for hearty hamburgers or smaller ones for sliders, adjusting bake time slightly based on size.
- Incorporate More Sourdough Discard: Enhance flavor by adding extra discard, which can also reduce proofing time due to its active yeast content.
| Variation | Time Saved | Key Advantage |
|---|---|---|
| Increased Yeast | 30-45 minutes | Faster rise without flavor loss |
| Larger Buns | 10-15 minutes | Perfect for robust burgers |
| Extra Discard | 20-30 minutes | Boosts tangy flavor |

These modifications ensure you can still achieve soft, flavorful hamburger buns tailored to your schedule and preferences. Whether you’re making sliders or dinner rolls, your buns will be a hit!
Troubleshooting and Expert Tips
When making bread, it’s easy to run into issues like dense texture or overproofed dough. These common pitfalls can affect even the most experienced bakers. In this section, we’ll explore how to avoid these problems and provide expert tips for achieving the perfect rise and texture.
Avoiding Dense or Overproofed Buns
Dense or overproofed buns can be frustrating, but they’re often easy to fix. One common cause is inactive yeast. Always check your yeast by adding a small amount to warm water (around 105°F to 110°F) to see if it becomes frothy. If it doesn’t, it’s time to use fresh yeast. Additionally, using high-protein flour can help create a lighter texture by increasing gluten structure.
Overmixing is another culprit. Mix your dough just until ingredients come together, then let it rest. This technique, known as autolyse, allows the flour to absorb water before adding other ingredients, resulting in a more even rise. Remember, a shaggy dough is better than an overworked one.
Adjusting Rise Times and Temperature Considerations
Rise times and temperature play a crucial role in bread making. If your kitchen is cold, your dough will rise slowly. To speed things up, place the dough in a warm, draft-free area, like near a preheating oven. Keep the temperature between 75°F and 80°F for optimal yeast activity.
When using a stand mixer, ensure the dough isn’t overworked. Mix on low speed until the dough comes together, then finish by hand if needed. For hand mixing, a wooden spoon or dough whisk works well. Always let the dough rest after mixing to allow the gluten to relax, making it easier to shape later. Temperature control is key—never use water that’s too hot, as it can kill the yeast and stop fermentation.
Storage Techniques and Nutritional Insights
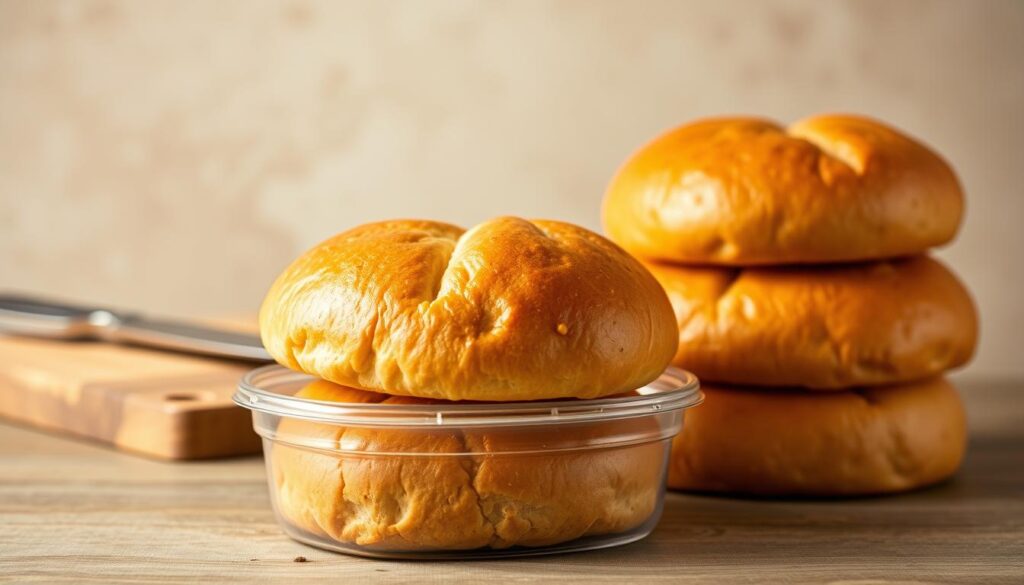
Proper storage is key to maintaining the freshness and texture of your homemade rolls. Always cool them completely on a wire rack before placing them in an airtight container. This prevents moisture buildup and keeps them soft for up to 3 days at room temperature or 5 days in the refrigerator.
Best Practices for Storing and Freezing
For longer storage, consider freezing. Place the cooled rolls in a freezer-safe bag or container, ensuring they don’t touch each other to avoid sticking. When you’re ready to enjoy them, thaw at room temperature or reheat in a toaster oven at 350°F for 5-7 minutes. This method helps retain their texture and flavor.
| Nutrient | Per Roll | Percentage of Daily Value |
|---|---|---|
| Calories | 220 | 11% |
| Protein | 6g | 12% |
| Fiber | 3g | 12% |
| Sugar | 2g | 4% |
Each roll provides a balanced mix of nutrients, making them a healthier choice compared to traditional bread. With careful storage and freezing, you can enjoy fresh, flavorful rolls anytime.

Conclusion
With these simple steps, you can create delicious, soft buns that elevate any meal. From mixing to baking, the process is designed to be straightforward, ensuring you get perfect results every time.
Your sourdough starter and discard are key to achieving that unique tang and fluffy texture. This method not only reduces waste but also enhances the flavor, making each bun a delight to bite into.
Don’t hesitate to experiment with different toppings like sesame seeds or try varying the size of your buns. Whether you’re making sliders or larger buns, the result is always delicious. The fermentation process ensures a light, airy texture that’s hard to resist.
Using a dough hook or mixing by hand gives you control over the dough’s development. The egg wash adds a golden, glossy finish, making your buns look as good as they taste. Remember, the key to success lies in the balance of ingredients and careful handling.
Share your creations on social media and join a community of passionate bakers. Your feedback and ideas can inspire others to try this versatile recipe. Happy baking!
FAQ
How long does it take to make sourdough hamburger buns from start to finish?
Can I use all-purpose flour instead of bread flour for this recipe?
What if I don’t have a stand mixer? Can I still make the dough by hand?
How do I store leftover hamburger buns to keep them fresh?
Can I add seeds or other toppings to the buns before baking?
Why is my dough not rising as expected?
Can I make this recipe without an egg wash?
How do I know when the buns are fully baked?
Can I use milk instead of water in the recipe?
What if I forget to let the dough rise for the full hour?
Can I refrigerate the dough to slow down the fermentation?
How do I prevent the buns from sticking to the parchment paper?
Can I use a sourdough discard that’s been refrigerated for a week?
Why are my buns turning out too dense?
Can I make these buns in a convection oven?
Source Links
- Soft Sourdough Hamburger Buns (Easy Recipe) – https://gingerhomemaking.com/soft-sourdough-hamburger-buns-easy-recipe/
- How To Make Hamburger & Hot Dog Buns With Fresh Milled Flour! – https://grainsinsmallplaces.net/buns-fresh-milled-flour/
- Hamburger Buns with Fresh Milled Flour – The Diligent Homemaker – https://thediligenthomemaker.com/hamburger-buns-with-fresh-milled-flour/
- One Hour Sourdough Discard Burger Buns – https://amybakesbread.com/one-hour-sourdough-discard-burger-buns/
- Homemade Hamburger Buns – https://www.allrecipes.com/recipe/233652/homemade-hamburger-buns/
- Easy Sourdough Discard Hamburger Buns – https://www.farmhouseonboone.com/easy-sourdough-discard-hamburger-buns/
- Sourdough Brioche Hamburger Buns [Soft & Fluffy!] – Sourdough Brandon – https://sourdoughbrandon.com/sourdough-brioche-hamburger-buns/
- Sourdough Hamburger Buns (no mixer needed) – https://vanillaandbean.com/sourdough-hamburger-buns/
- Sourdough Discard Hamburger Buns – Acts Of Sourdough – https://actsofsourdough.com/sourdough-discard-hamburger-buns/
- Soft Sourdough Hamburger Buns – Milk and Pop – https://milkandpop.com/sourdough-hamburger-buns/
- Sourdough Hamburger or Hot Dog Buns (discard or active starter) – https://wildthistlekitchen.com/sourdough-hamburger-or-hotdog-buns/
- Beautiful Burger Buns – https://www.kingarthurbaking.com/recipes/beautiful-burger-buns-recipe
- Brioche Hamburger Buns | The Perfect Loaf – https://www.theperfectloaf.com/brioche-hamburger-buns/
- Easy Sourdough Hamburger Buns – Grant Bakes – https://grantbakes.com/easy-sourdough-hamburger-buns/
- Sourdough Hamburger Buns – Made in Motherhood – https://madeinmotherhood.com/sourdough-hamburger-buns/
- Brioche Sourdough Discard Hamburger Buns – https://www.modernfarmhouseeats.com/brioche-sourdough-discard-hamburger-buns/
- Quick and Easy Homemade Hamburger Buns – The Rose Homestead – https://therosehomestead.com/quick-and-easy-homemade-hamburger-buns/
- Super Soft Sourdough Discard Rolls – Jennibeemine – https://jennibeemine.com/super-soft-sourdough-discard-rolls/
- Troubleshooting Sourdough: Your Questions Answered • The Prairie Homestead – https://www.theprairiehomestead.com/2020/04/sourdough-troubleshooting.html
- Homemade Hamburger Buns Recipe – Preppy Kitchen – https://preppykitchen.com/hamburger-buns-recipe/
- How To Shape Buns and Rolls | The Perfect Loaf – https://www.theperfectloaf.com/guides/shaping-buns-and-rolls/
- Gluten Free Sourdough Starter Recipe – https://healthytasteoflife.com/gluten-free-sourdough-starter-foolproof-recipe/
- Pain de Mie Sandwich Bread | The Perfect Loaf – https://www.theperfectloaf.com/pain-de-mie/
- Best Bread for Diabetes – Brands, Carbs, & Sugar | Milk & Honey Nutrition – https://www.milkandhoneynutrition.com/best-bread-for-diabetes-brands-carbs-sugar/
- Sourdough Hamburger Buns (optional fresh milled flour) – https://hopethiswerks.com/sourdough-hamburger-buns-optional-fresh-milled-flour/
- The Ultimate Guide to Sourdough Hamburger Buns – https://libraryrecipes.com/sourdough-hamburger-buns-recipe/


